Showing posts with label Mod Podge. Show all posts

Saturday, May 24

Ta Da...Finished Cherry Chicked Cabinet


Well...here she is all finished up!  I may still change out the cabinet knobs if I can find some of Mary Engelbreit's that I like better.  Please note that all photos will enlarge if you click on them.


If you read my blog post last week you know the story about this "blank canvas" and how it arrived at my house.  I started out cleaning her up with a nice scrub of soap and water to remove as much of the grime as I could.


I made a trip to Lowes where I picked up the materials that I needed to work with.  I used a Zinsser primer base paint in white and some painter's putty to fill in the cracks in the wood.  I, also, got her a new magnetic door clasp because one of the old ones was cracked.  


The putty was easy to work with.  I just shoved it in wherever I found cracks and wiped back over it with a putty knife to even it out with the surface.  Then I waited 24 hours to let it dry before I put on the first coast of the primer paint.


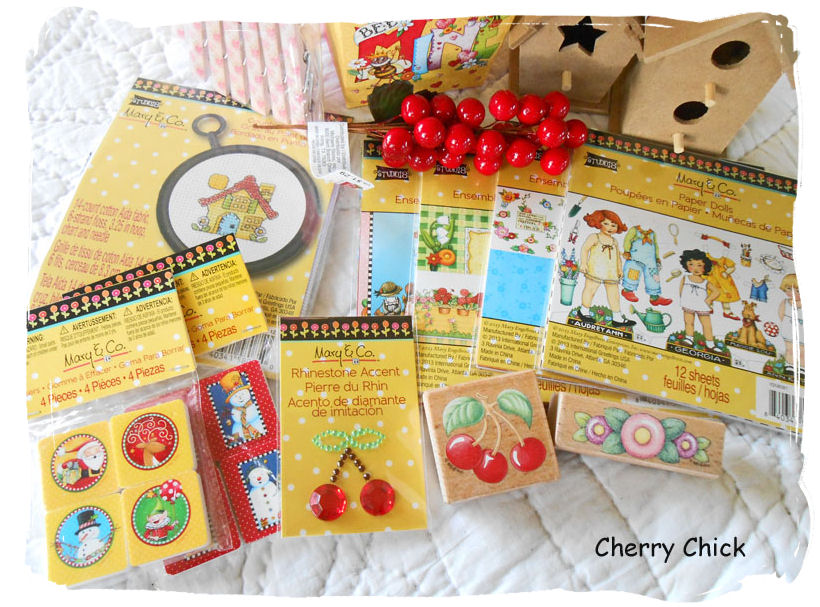
After applying two coats of the primer to EVERYTHING (the least favorite part of this project) I then taped off the two raised front panels on the cabinet and used some black acrylic paint that I had purchased at JoAnn's Fabrics & Crafts to paint them.


Taping it off made for a nice clean edge after I removed the painters tape.


The next step was apply the checkerboard Contact paper that I had cut into strips.  Soooo much easier than hand painting all those checks.  I did find that the right cabinet door  is not at the same height as the left cabinet door so I had to play with positioning the checks but I bet if I hadn't told you you would not have noticed.  What do ya want...it was FREE! ;-)


I was able to bring the cabinet inside for the next step.  I spent a couple of evenings watching the TV hunched over the cabinet while it rested on an ottoman.  That's how I hand painted all the cherries on the front panels.  It took several coats of acrylic paint to get them dark enough over the black base coating.


 The polka dots where applied with a pencil eraser dipped in paint.


I painted the old knobs black, dug through my stickers to find just the right ones, and coated everything with a couple of layers of  Mod Podge to give it a shiny finish. 


Next it was time to start on the interior part of the cabinet.  I used some Cherry gift wrap cut to the measurements of each section of shelves.  I've use double sided tape to affix it to the cabinet backing board.  I think that will hold it in place.


I took an opinion poll on Facebook to help me decide if I wanted to use the Wallies inside in each of the 12 shelves.  Obviously, I decided to use them. I then applied some checkerboard ribbon on the edge of the 3 center shelves.  Love that touch!  I think the door shelves are perfect for holding ribbon.


Here's the interior part completed.  I have some ME square shaped tins that I thought would fit but they're just a touch too big so I won't be able to use them inside.  It made for a cute photo I thought.


Completed interior closeup view


Having completed the interior part, I was able to stand the cabinet back up again and finish off the front panels.  I used some Mary Engelbreit scrapbook cut out pieces and tried to attach them evenly spaced.  Before I applied the cut out pieces I taped the front of the cabinet back up again with craft paper and painter's tape to give the painted front panels a couple of spray coats of Polycrylic Gloss to seal the paint.  I forgot to take photos of that step. You didn't miss much. :-)


Here she is completed in all here Cherriness!  So if you ever come across a cabinet you'll now know what you can do to "Mary Engelbright" it up as my son, Christopher, said.

P.S. Sweet Bee keep looking for those knobs, please. ;-)

Thanks for stopping by...

Tuesday, January 8

Shopping & Creating


I'm not much of an after the Holidays bargain shopper but when Lucy mentioned on Facebook last week that Mary Engelbreit had some cute stuff available at Michaels Crafts for Valentine's Day that was all the inspiration I needed to get out and go see. 


What do these remind you of??  I found these little Cherries (at least to me they are) in the Christmas stuff mark down from $1.29 a bunch to a quarter each.


Cute little ME Valentine take out containers are available for .99.  The pink decorated clothes pins were marked down to .60 for the package.


Lots of cute stuff in the $1.50 bins like the Mary Engelbreit stamps in the first photo, several designs of cross stitch kits, and the mini scrapbook paper packages.


I picked up a couple of the little wooden bird houses for $1.50 and was inspired by the ME paper.


First I painted all the edges with some white acrylic paint.


Then it was cut...cut...cut...and glue...glue...glue.  Did you see the little window boxes on the sides of bird house?
Once all the glue dried I put a couple of coats of Mod Podge over all of the paper.  I still need to add a cute ribbon to hang the bird house with.  I forgot in my rush to get photos for my blog post.
I'm happy with how it turned out.  Next I'll work on making something with the mini Mary E. cross stitch kit.

Thanks for stopping by.  I'm linking up with Sue at It's A Very Cherry World.  Stop over and visit to see all the red that everyone has shared for "Rednesday" at Sue's blog.


Sunday, August 29

ME Monday.....

It's time, again, for Mary Engelbreit Monday!

Welcome and please join us and post the link to your blog with the related Mary Engelbreit pictures to share with everyone. It can be a ME licensed product or something that was "inspired" by Mary Engelbreit's artwork. It "should" be a photo that you took of something that you own. We're flexible here....let's have fun above all else.
Click to Photo to Enlarge
Here are some "jewelry" ideas that I've been working on this weekend. On the side panel of my blog you'll see a button for "Creative Chicks". There's a group of people getting together in mid Sept. to share their creative side via a link of blogs. The first day is about creating with ole Mod Podge. I've bought a million of these little ME scrapbook card board pieces with the idea that I would do something "jewelryish" (new word) with them. First I coated them front and back with the Mod Podge so that the resin would not bleed the colors. Saturday the resin that I had ordered came in the mail and I got to play with it. Cool stuff and it's easy to work with. The pieces with the asterick have been coated with resin.
You can see the reflection and magnification of the three pieces to the left. The three pieces on the right have not had the resin applied to them, yet. I used a Sharpie pen to put my name on the oval piece with the thought that I will wear this as my "badge" when I attend Networking events.
In this photo you can see the "doming" of the resin on the three pieces that have been coated. I'm waiting on some findings to arrive so that I can create pendants and pins with the finished pieces. I need to have this completed in time to share with the "Creative Chicks".

Once you've posted your pictures come back and add your link in Linky Tools below. Please share the link back to my blog so that everyone can take part in sharing their post nd pictures.


I changed my font at scrappinblogs.blogspot.com